Revamp your kitchen floors with a fresh new look! Discover the benefits, drawbacks, and inspiring design ideas for painting kitchen floors.
Painting kitchen floors can be a great way to give your kitchen a fresh new look. However, it’s important to consider the pros and cons before diving in. One of the biggest pros of painting your kitchen floors is that it’s a relatively inexpensive way to update the space. Additionally, painting allows you to get creative with design ideas and customize the look to match your decor.
On the flip side, one of the cons of painting kitchen floors is that they may require more maintenance compared to traditional flooring options. The paint may chip or wear down over time, especially in high-traffic areas. When painting your kitchen floors, it’s crucial to use a high-quality primer and paint that are specifically designed for floors to ensure durability.
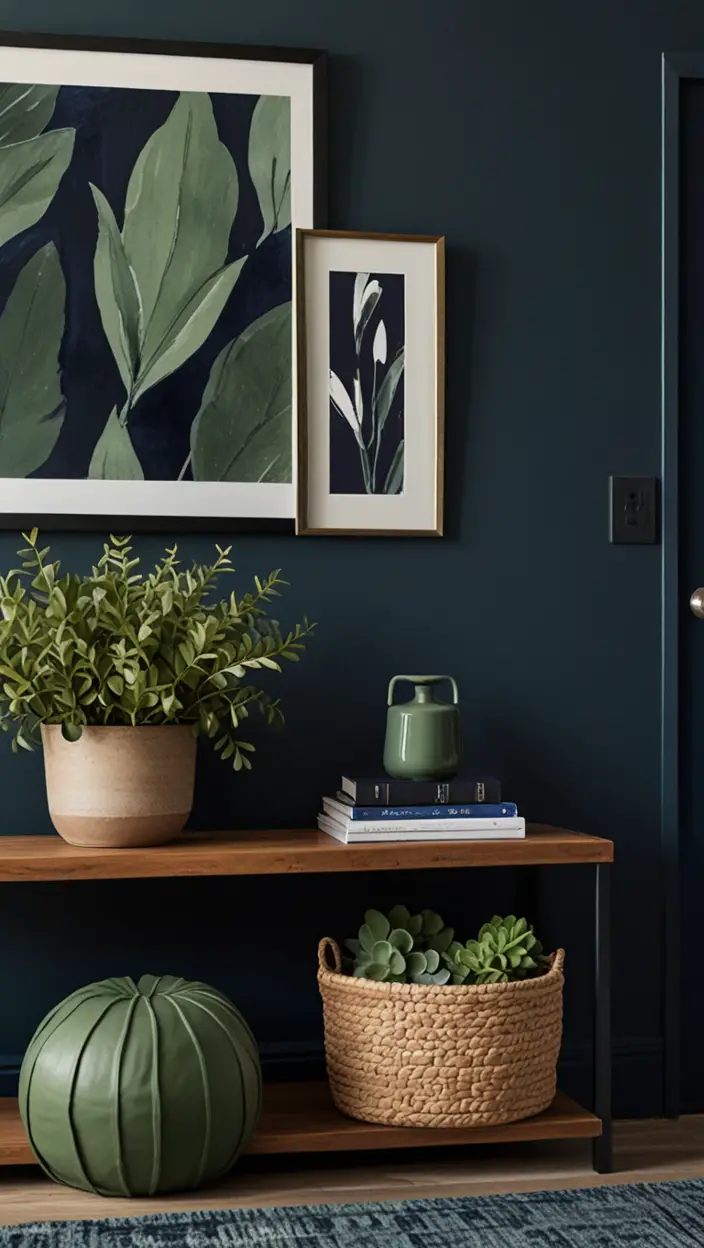
My Lovely Spring Paint for 2025
Ready for a Spring Makeover? Explore the Freshest 2025 Paint Trends!
White Sage/Green SW Pistachio green Soft blue Honeysweet/Orange Pink Sugar Sage Tint BMAs an Amazon Associate, I may earn a commission from qualifying purchases at no extra cost to you.
In terms of design ideas, consider opting for colors that complement your kitchen decor and match the overall style of your home. Selecting a paint color that ties in with your existing color scheme can create a cohesive look throughout your space. Additionally, consider using stencils or patterns to add visual interest to your painted floors.
When working with an interior designer on painting your kitchen floors, make sure to discuss your vision and preferences. A designer can help you select the right paint colors and design elements to achieve the desired look. They can also assist in space planning to ensure the painted floors enhance the overall aesthetic of your kitchen.
In conclusion, painting kitchen floors can be a fun and cost-effective way to refresh your kitchen space. By weighing the pros and cons, selecting the right materials, and collaborating with a designer, you can achieve a stylish and personalized look that complements your home interior design.
How to properly prepare my kitchen floor for painting?
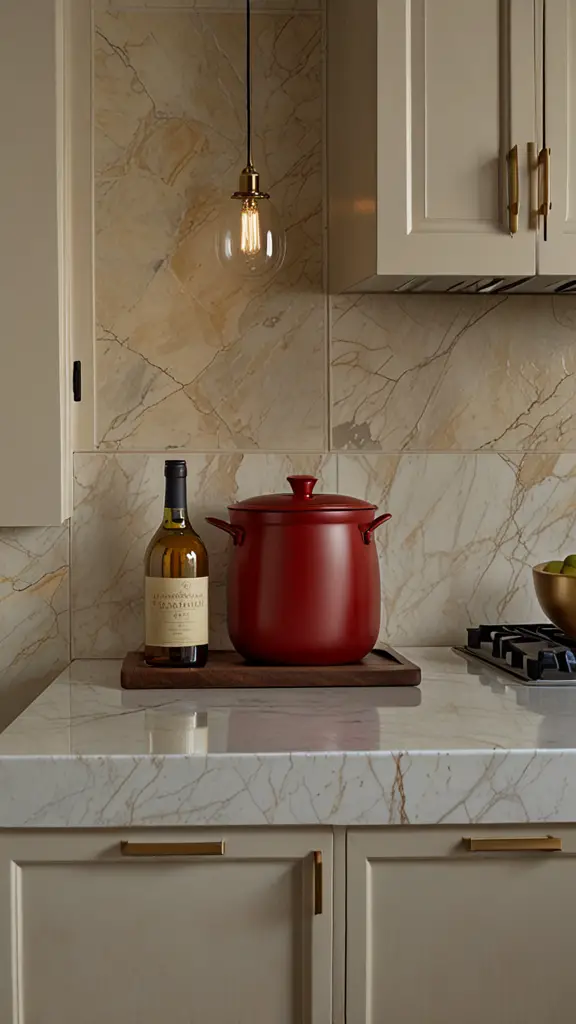
My fAV Spring DECOR for 2025
Discover Spring’s Best 2025 Decor Combinations – Perfect for Any Room!
Oversized Indoor Plants White Curved Sofas Rugs BOH Brown Cream Moroccan Hype Boho Rug Outdoor Patio Furniture Sets Topfinel Pillow CoversAs an Amazon Associate, I may earn a commission from qualifying purchases at no extra cost to you.
Before painting your kitchen floor, it is crucial to properly prepare the surface to ensure the best results and longevity of the paint. Here are some important steps to follow:
1. **Clean the Surface**: Start by thoroughly cleaning the floor to remove any dirt, dust, grease, or other contaminants. Use a degreaser and scrub brush to ensure the surface is clean and free of any residue.
2. **Repair any Damage**: Inspect the floor for any cracks, chips, or other damage. Repair any imperfections using a suitable filler or patching compound. Allow the repairs to dry completely before proceeding.
3. **Sand the Surface**: Use a sanding block or sander to lightly sand the floor surface. This will help roughen up the existing finish and create a better surface for the paint to adhere to.
4. **Prime the Floor**: Apply a good quality primer designed for use on floors. The primer will help the paint bond to the surface and provide better durability.
5. **Choose the Right Paint**: Select a high-quality paint that is specifically formulated for floors. Consider factors such as durability, ease of application, and resistance to stains and moisture.
6. **Apply the Paint**: Use a roller or brush to apply the paint in thin, even coats. Follow the manufacturer’s instructions regarding drying times and recoating.
7. **Seal the Paint**: Once the paint has dried completely, apply a clear polyurethane sealer to protect the finish and ensure longevity.
What is the best type of paint to use for kitchen floors?
When painting kitchen floors, it is essential to use a paint that can withstand high traffic, spills, and frequent cleaning. The best types of paint for kitchen floors include:
– **Epoxy Paint**: Known for its durability and resistance to stains, chemicals, and water. Epoxy paint is a popular choice for kitchen floors.
– **Acrylic Latex Paint**: Provides a durable finish that is easy to clean and maintain. Acrylic latex paint is available in a variety of colors and finishes.
– **Oil-Based Paint**: Offers a tough and long-lasting finish that is ideal for high-traffic areas like kitchen floors. Oil-based paint can be more challenging to apply but provides excellent durability.
When choosing a paint for your kitchen floor, consider factors such as the level of foot traffic, the existing flooring material, and your desired finish.
Can I paint over existing tile or linoleum flooring in my kitchen?
Yes, you can paint over existing tile or linoleum flooring in your kitchen, but proper preparation is key to a successful outcome. Here are some important steps to follow:
1. **Clean the Surface**: Thoroughly clean the tile or linoleum floor to remove any dirt, grease, or wax. Use a degreaser and scrub brush to ensure the surface is clean.
2. **Sand the Surface**: Lightly sand the surface to create a rough texture that will help the paint adhere better.
3. **Prime the Floor**: Apply a bonding primer designed for use on smooth surfaces like tile or linoleum. The primer will help the paint adhere and provide a durable finish.
4. **Paint the Floor**: Apply the paint using a roller or brush in thin, even coats. Allow the paint to dry between coats for the best results.
By following these steps, you can successfully paint over existing tile or linoleum flooring in your kitchen and give it a fresh new look.
How long does painted kitchen flooring typically last before needing a touch-up?
The durability of painted kitchen flooring can vary depending on factors such as the type of paint used, the level of foot traffic, and how well the surface was prepared. On average, painted kitchen floors can last anywhere from 2 to 5 years before needing a touch-up or recoating.
To extend the life of your painted kitchen floor, consider the following tips:
– **Regular Maintenance**: Keep the floor clean and free of debris to prevent scratches and wear.
– **Use Area Rugs**: Place area rugs in high-traffic areas to protect the painted surface.
– **Avoid Harsh Chemicals**: Use gentle cleaning products to avoid damaging the paint finish.
– **Touch-Up as Needed**: Keep an eye out for signs of wear and touch up any areas that show signs of damage.
With proper care and maintenance, painted kitchen flooring can provide a durable and attractive surface for years to come.
What are some design ideas for painting kitchen floors to complement my existing decor?
When painting kitchen floors, there are endless design possibilities to complement your existing decor and create a stylish look. Here are some design ideas to consider:
– **Geometric Patterns**: Create a bold statement with geometric patterns such as diamonds, chevron, or stripes.
– **Faux Tile**: Paint a faux tile pattern for a classic and elegant look without the cost of real tile.
– **Stenciled Designs**: Use stencils to add intricate designs or motifs to your kitchen floor for a personalized touch.
– **Two-Tone Effect**: Paint the floor in two complementary colors to add visual interest and depth to the space.
– **Vintage Charm**: Achieve a vintage look with distressed paint finishes or stenciled borders.
By incorporating these design ideas, you can transform your kitchen floor into a stylish focal point that complements your existing decor beautifully.
Can I use stencils or patterns when painting my kitchen floor?
Yes, stencils and patterns can be a great way to add visual interest and personality to your painted kitchen floor. Here are some tips for using stencils and patterns effectively:
– **Choose the Right Stencil**: Select a stencil that complements your decor and fits the size of your floor space.
– **Prep the Surface**: Ensure the floor is clean and properly prepared before applying the stencil.
– **Use Painter’s Tape**: Secure the stencil in place with painter’s tape to prevent shifting during application.
– **Blend Colors**: Experiment with different color combinations or shades to create a unique and personalized design.
– **Seal the Design**: Once the paint is dry, apply a clear sealer to protect the stencil design and enhance durability.
Whether you choose a simple geometric pattern or a more intricate design, stencils can be a fun and creative way to enhance the look of your painted kitchen floor.
What are the pros and cons of painting kitchen floors compared to other flooring options?
Painting kitchen floors offers a budget-friendly and customizable alternative to traditional flooring options. Here are some pros and cons to consider:
**Pros**:
– **Cost-Effective**: Painting floors is generally more affordable than installing new flooring materials.
– **Design Flexibility**: With endless color and design options, you can customize your kitchen floor to suit your style.
– **Quick Transformation**: Painting can quickly refresh the look of your kitchen without the need for extensive renovation.
– **Easy Maintenance**: Painted floors are easy to clean and maintain with regular sweeping and mopping.
**Cons**:
– **Durability**: Painted floors may not be as durable as other flooring materials and may require touch-ups over time.
– **Slippery Surface**: Depending on the finish, painted floors can be slippery when wet.
– **Preparation Required**: Proper surface preparation is essential for a successful paint job, which can be time-consuming.
– **Limited Resale Value**: Painted floors may not add as much resale value to your home as traditional flooring materials.
Consider these factors when deciding whether painting your kitchen floor is the right choice for your home.
Key Takeaways:
– **Properly prepare the surface**: Clean, repair, sand, prime, and seal the floor before painting.
– **Choose the right paint**: Epoxy, acrylic latex, or oil-based paints are ideal for kitchen floors.
– **Consider design ideas**: Geometric patterns, stencils, and two-tone effects can complement your decor.
– **Use stencils creatively**: Secure stencils, blend colors, and seal the design for a personalized look.
– **Understand the pros and cons**: Cost-effective, design flexibility, easy maintenance, but may lack durability and resale value.