Want to transform your kitchen with a polished look? Discover the dos and don’ts of painting kitchen ceilings for stunning results.
Painting kitchen ceilings can be a challenging task, but with the right dos and don’ts, you can achieve a polished look. Dos include using primer paint for walls before painting, selecting a color that complements your kitchen decor, and ensuring proper lighting to highlight the ceiling. Don’ts involve skipping the priming process, neglecting color matching, and using dark colors in small kitchens. Working with an interior designer can help you create a cohesive look and ensure proper space planning. Consider matching colors or hues with your walls and cabinets for a harmonious design. Stay organized by creating a color palette and following a step-by-step painting process for best results.
How do I choose the right paint color for my kitchen ceiling?
When choosing the right paint color for your kitchen ceiling, consider the overall color scheme of your kitchen. It is recommended to opt for lighter colors for ceilings as they can make the space feel brighter and more spacious. White is a popular choice for kitchen ceilings as it creates a clean and timeless look while reflecting light effectively. If you have a small kitchen, painting the ceiling the same color as the walls can help create a cohesive and open feel. Additionally, consider the natural light in your kitchen when selecting a paint color to ensure it complements the space effectively.
Can I use the same paint on my kitchen ceiling as the walls?
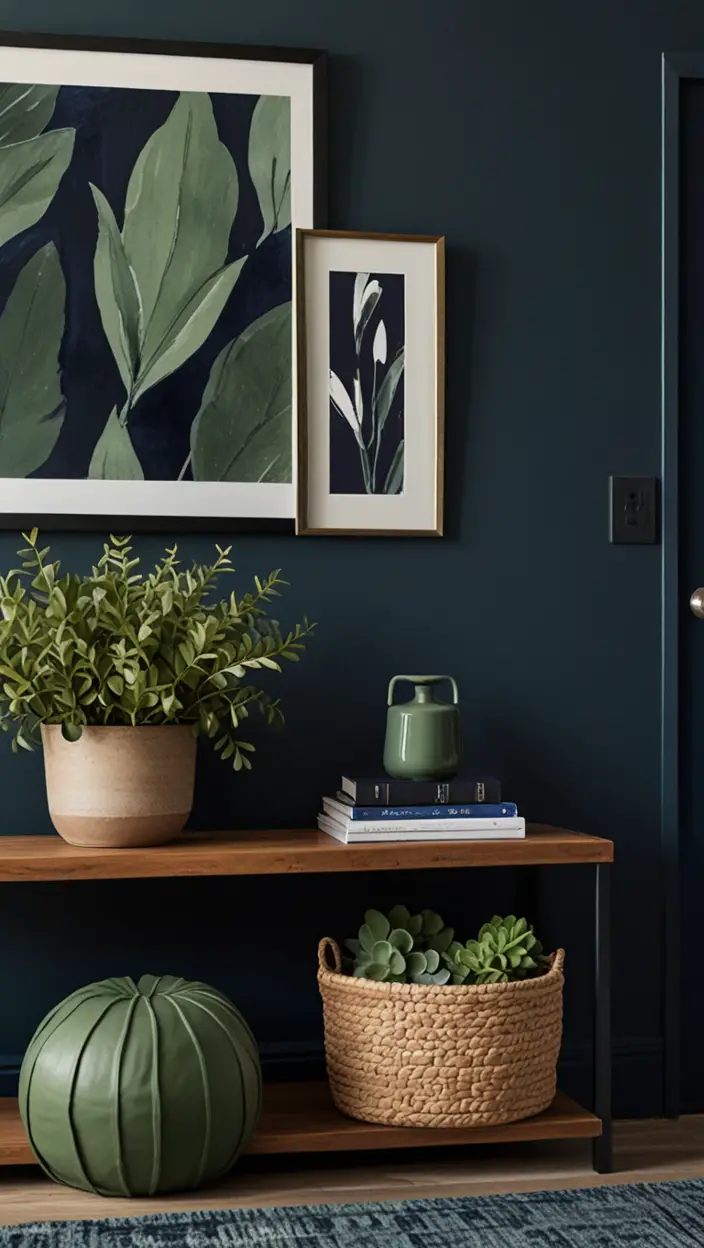
My Lovely Spring Paint for 2025
Ready for a Spring Makeover? Explore the Freshest 2025 Paint Trends!
White Sage/Green SW Pistachio green Soft blue Honeysweet/Orange Pink Sugar Sage Tint BMAs an Amazon Associate, I may earn a commission from qualifying purchases at no extra cost to you.
Yes, you can use the same paint on your kitchen ceiling as the walls. Using the same paint color creates a cohesive and seamless look in the kitchen, making the space feel more unified. However, if you choose to use different colors, ensure they complement each other to maintain a harmonious overall appearance. Using the same paint also simplifies the painting process and can help save time and effort.
What are the dos and don’ts of painting a kitchen ceiling for a polished look?
– **Dos:**
– **Do** clean the ceiling thoroughly before painting to remove any dust, grease, or dirt.
– **Do** use a high-quality paint roller to ensure even coverage on the ceiling.
– **Do** apply primer before painting to help the paint adhere better and achieve a smooth finish.
– **Do** use a paint with a durable finish suitable for kitchen ceilings to resist moisture and stains.
– **Don’ts:**
– **Don’t** skip the prep work, as proper cleaning and priming are essential for a polished finish.
– **Don’t** use a lower-quality paint that may result in streaks or uneven coverage.
– **Don’t** paint over a damaged ceiling without addressing the underlying issues first.
– **Don’t** neglect ventilation while painting to ensure proper air circulation and drying of the paint.
How can I ensure even coverage when painting a kitchen ceiling?
My fAV Spring DECOR for 2025
Discover Spring’s Best 2025 Decor Combinations – Perfect for Any Room!
Oversized Indoor Plants White Curved Sofas Rugs BOH Brown Cream Moroccan Hype Boho Rug Outdoor Patio Furniture Sets Topfinel Pillow CoversAs an Amazon Associate, I may earn a commission from qualifying purchases at no extra cost to you.
To ensure even coverage when painting a kitchen ceiling, follow these steps:
– Use a high-quality paint roller and extension pole to reach the ceiling easily.
– Apply the paint in thin, even layers to avoid drips and streaks.
– Start from one corner of the ceiling and work your way across in small sections.
– Use long, overlapping strokes to create a smooth and uniform finish.
– Check the coverage as you go and touch up any areas that appear lighter or uneven.
What type of paint finish is best for kitchen ceilings?
For kitchen ceilings, a paint finish that is durable and easy to clean is ideal. A flat or matte finish is commonly used for ceilings as it helps hide imperfections and provides a smooth appearance. These finishes also reduce glare from overhead lighting, creating a more comfortable environment in the kitchen. Avoid using high-gloss finishes on ceilings as they can highlight imperfections and be difficult to maintain in a kitchen setting.
Are there any tips for prepping a kitchen ceiling before painting?
Before painting a kitchen ceiling, it is essential to properly prep the surface for the best results:
– Clean the ceiling with a mild detergent and water to remove grease and dirt.
– Repair any cracks or holes with spackling compound and sand the surface smooth.
– Use painter’s tape to protect walls and cabinets from paint splatter.
– Apply a primer to the ceiling to help the paint adhere better and achieve a more even finish.
– Ensure the ceiling is completely dry before painting to prevent peeling or bubbling of the paint.
Can I paint a kitchen ceiling myself or should I hire a professional?
Whether you can paint a kitchen ceiling yourself or hire a professional depends on your comfort level with painting and the complexity of the task. Painting a ceiling can be physically demanding and requires working overhead for an extended period, so consider your abilities and limitations before undertaking the project. If you have the time, tools, and skills necessary for painting, you can likely complete the job yourself. However, if you prefer to ensure a professional finish or lack the time and expertise, hiring a professional painter may be a better option to achieve a polished look for your kitchen ceiling.
Key Takeaways
– **Choose light colors** for kitchen ceilings to create a bright and spacious feel.
– **Consider using the same paint color** on walls and ceilings for a cohesive look.
– **Clean and prime** the ceiling before painting to ensure a smooth and durable finish.
– **Use a high-quality paint roller** for even coverage and a professional result.