Why settle for a mundane daily routine when you could have an enchanting one with your pet?
Transforming your kitchen into a trendy masterpiece doesn’t have to be a daunting task. With our step-by-step guide, you can create an Edamame Enchantment Sage Green Cabinets makeover that will have your friends and family green with envy. From selecting the perfect shade of green to adding stylish hardware, we’ll show you how to effortlessly revamp your kitchen while enjoying quality time with your furry friend. So, are you ready to unleash your creativity and create a truly magical space for both you and your pet to enjoy? Let’s get started!
Read More
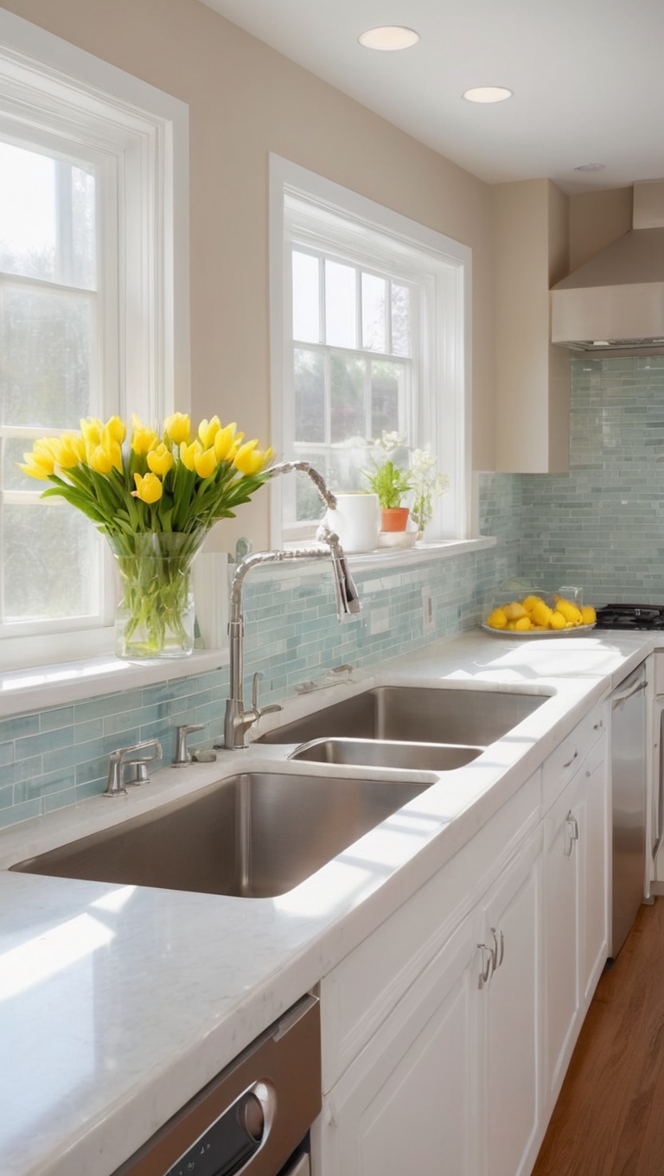
How to Create a Trendy Makeover: Edamame Enchantment Sage Green Cabinets
What is the daily routine with a pet?
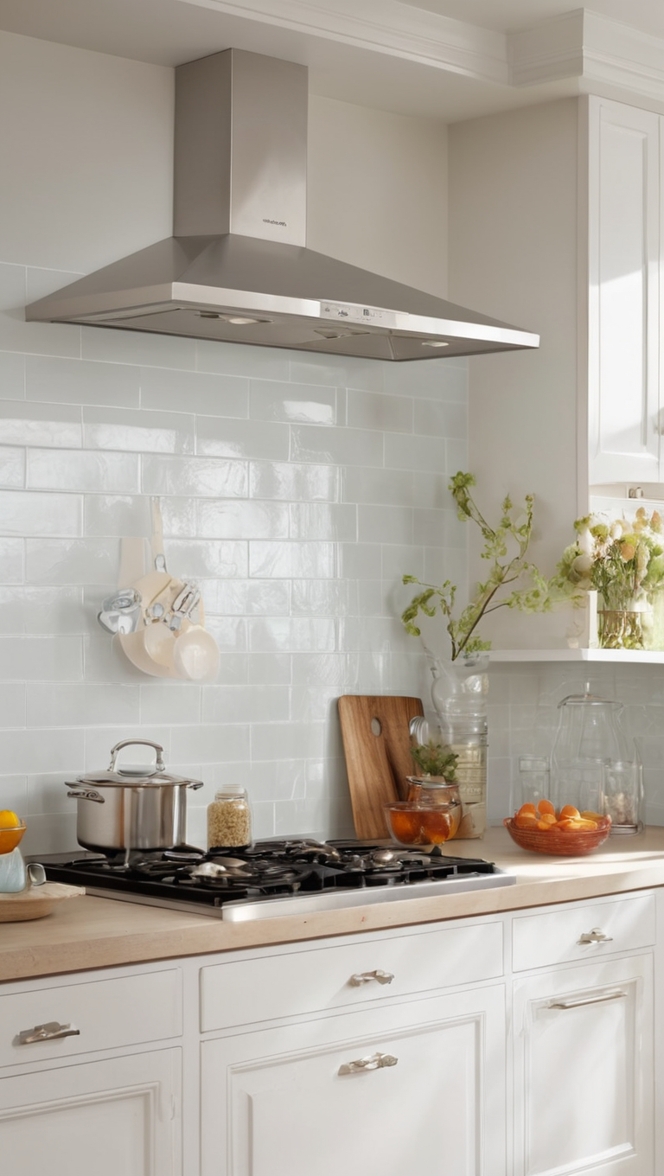
Creating a trendy makeover for your kitchen cabinets can give your space a fresh and modern look. One popular trend is the use of edamame enchantment sage green cabinets. To achieve this trendy makeover, follow these steps:

1. Remove all cabinet doors and hardware.
2. Clean the cabinet surfaces thoroughly with a mild detergent and warm water.
3. Sand the surfaces lightly to create a smooth base for painting.
4. Apply a primer to ensure good adhesion of the paint.
5. Once the primer is dry, apply the edamame enchantment sage green paint to the cabinets using a roller or brush.
6. Allow the paint to dry completely before applying a second coat.
7. Reattach the cabinet doors and hardware once the paint is fully dry.

By following these steps, you can transform your kitchen cabinets into a trendy focal point. Keep in mind that working with paint and sanding materials can be messy, so it's important to protect your workspace and wear appropriate safety gear. Additionally, having a well-organized plan and all the necessary tools and materials in advance will help make the process smoother.
1. How to create a trendy makeover with edamame enchantment sage green cabinets?
Creating a trendy makeover with edamame enchantment sage green cabinets can completely transform the look and feel of your kitchen or any other space. The color edamame enchantment sage green is a popular choice as it adds a touch of elegance and sophistication to any room. Here’s how you can achieve this trendy makeover:
1. Choose the right shade of sage green: There are various shades of sage green available in the market, so it’s important to choose a shade that matches your aesthetic and complements the overall theme of your space. The edamame enchantment sage green color is a beautiful shade that has a hint of gray undertone, making it a versatile choice for any style.
2. Prepare the cabinets: Before painting your cabinets in the sage green color, it’s important to prepare them properly. Remove all the hardware, such as handles and hinges, and clean the surface thoroughly. Sand the cabinets lightly to create a smooth surface for the paint to adhere to.
3. Prime the cabinets: Applying a primer to the cabinets is essential to ensure a long-lasting and flawless finish. Choose a primer that is specifically designed for use on cabinets and follow the manufacturer’s instructions for application. Primer helps the paint adhere better and prevents any discoloration or bleed-through of the previous color.
4. Paint the cabinets: Once the primer has dried, it’s time to paint the cabinets in the edamame enchantment sage green color. Use a high-quality paint that is specifically formulated for cabinets and provides good coverage. Apply multiple thin coats of paint, allowing sufficient drying time between each coat. This ensures a smooth and even finish.
5. Add finishing touches: After the paint has dried completely, reattach the hardware to the cabinets or consider updating them with new hardware that complements the sage green color. Adding new handles, knobs, or pulls can give your cabinets a fresh and updated look.
6. Consider other design elements: To enhance the overall look of your edamame enchantment sage green cabinets, consider incorporating other colors or materials into the design. For example, you can add a touch of warmth with brass or gold accents, or create contrast with white countertops or backsplash. Experiment with different elements to create a unique and personalized look.
7. Maintain your cabinets: To ensure the longevity of your trendy makeover, proper maintenance is essential. Regularly clean your cabinets with a mild detergent and avoid using harsh chemicals that can damage the paint. Also, handle the cabinets with care to prevent any scratches or chipping.
2. What is the process to achieve an edamame enchantment sage green cabinet makeover?
Achieving an edamame enchantment sage green cabinet makeover involves a step-by-step process that ensures a professional-looking finish. Here’s the process to achieve this makeover:
1. Evaluate your cabinets: Assess the condition of your existing cabinets to determine if they are suitable for a makeover. Look for any signs of damage or wear that may need to be repaired before painting. If your cabinets are in good condition, they are ready for the makeover process.
2. Plan the makeover: Decide on the specific shade of sage green that you want to use for your cabinets, such as the edamame enchantment sage green color. Gather paint samples or consult a color expert to ensure the shade complements your overall design aesthetic.
3. Remove cabinet doors and hardware: Start by removing all cabinet doors, drawers, and hardware, such as handles and hinges. This allows for easier painting and ensures a professional finish.
4. Clean and prep the surfaces: Thoroughly clean all surfaces to remove any dirt, grease, or grime. Use a mild detergent and warm water. Once clean, lightly sand the surfaces to remove any glossy finish and create a rough surface for the paint to adhere to.
5. Apply primer: Apply a high-quality primer specifically designed for cabinets. This helps to prevent any discoloration or bleed-through of the previous color and provides a solid base for the paint. Follow the manufacturer’s instructions for the primer application.
6. Paint the cabinets: Once the primer has dried, it’s time to apply the sage green paint. Use a brush or roller to apply the paint evenly on all surfaces. Apply multiple coats, allowing sufficient drying time between each coat, for proper coverage and a smooth finish. Consider using a paint sprayer for a professional-looking result.
7. Reattach doors and hardware: Once the paint is completely dry, reattach the cabinet doors and hardware. Ensure all doors are properly aligned and level.
8. Finishing touches: Consider adding additional design elements such as new handles, knobs, or pulls in coordinating finishes to enhance the sage green cabinet look. Additionally, you can consider updating the surrounding area with new countertops or a stylish backsplash that complements the sage green color.
9. Clean and maintain: After completing the makeover, regularly clean your cabinets using mild detergents and soft cloths. Avoid using abrasive cleaners that can damage the paint. Handle the cabinets with care to prevent any scratches or chips.
3. Can I repaint my existing cabinets in the edamame enchantment sage green color?
Yes, you can repaint your existing cabinets in the edamame enchantment sage green color to achieve a trendy makeover. Repainting your cabinets is a cost-effective way to give your space a fresh and updated look without the need for a complete cabinet replacement. Here are a few things to consider when repainting your existing cabinets:
1. Evaluate the condition of your cabinets: Before repainting, thoroughly assess the condition of your cabinets. Look for any signs of damage, wear, or peeling paint that may need to be addressed before repainting. Minor repairs, such as filling in dents or fixing loose hinges, can be done prior to the painting process.
2. Clean the cabinets: Properly clean the cabinets to remove any dirt, grease, or grime that may affect the adhesion of the new paint. Use a mild detergent and warm water to clean all surfaces. Rinse well and allow the cabinets to dry completely before proceeding.
3. Remove hardware and doors: Remove all cabinet doors and drawers, as well as any hardware, such as handles and hinges. This allows for easier painting and ensures a professional-looking finish. Label each door and hardware piece with a small piece of tape to ensure easy reattachment after painting.
4. Sand the surfaces: Properly sand the cabinet surfaces to create a rough texture for the new paint to adhere to. Use a medium-grit sandpaper to remove any glossy finish and smooth out imperfections. Wipe away the sanding dust with a damp cloth.
5. Apply primer: Applying a high-quality primer is essential to achieving a long-lasting and professional-looking finish. Choose a primer specifically designed for use on cabinets and follow the manufacturer’s instructions for application. Primer helps the new paint adhere better and prevents any discoloration or bleed-through of the previous color.
6. Paint the cabinets: Once the primer has dried, it’s time to paint the cabinets in the edamame enchantment sage green color. Use a high-quality paint specifically formulated for cabinets to ensure durability and a smooth finish. Apply multiple thin coats of paint, allowing sufficient drying time between each coat. Consider using a paint sprayer for a professional-looking result.
7. Reattach doors and hardware: Once the paint has dried completely, reattach the cabinet doors and hardware. Ensure all doors are properly aligned and level. Consider updating the hardware with new handles, knobs, or pulls that complement the sage green color.
8. Maintain your cabinets: Proper maintenance is key to ensuring the longevity of your repainted cabinets. Clean them regularly with a mild detergent and avoid using abrasive cleaners that can damage the paint. Handle the cabinets with care to prevent any scratches or chipping.
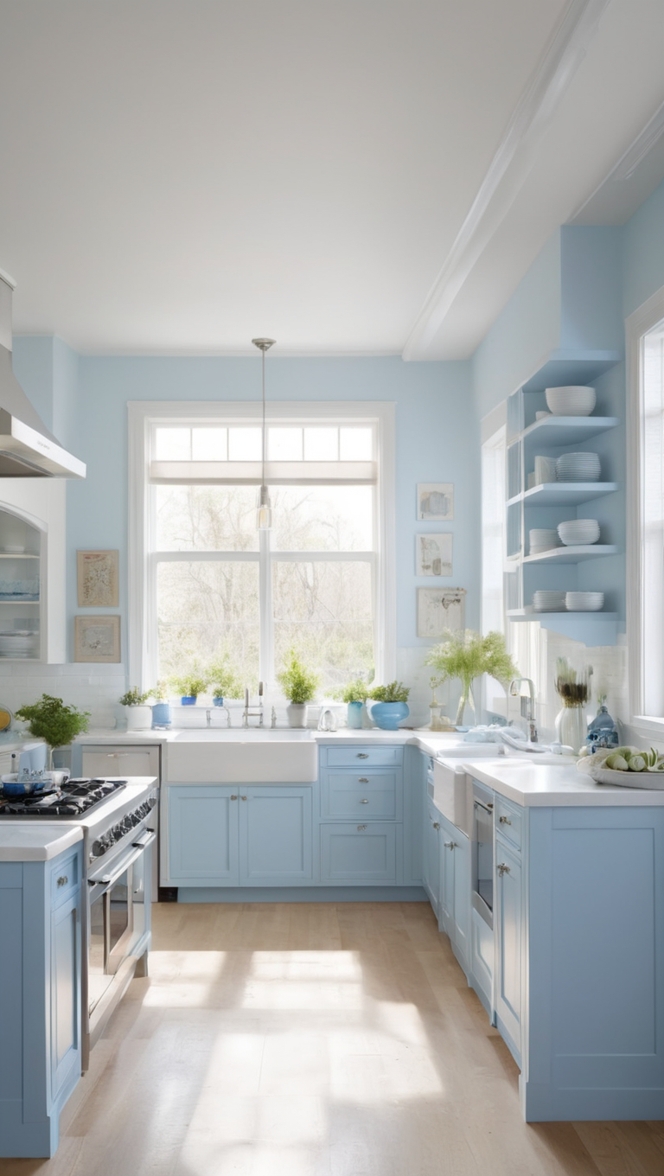
4. What are the benefits of choosing sage green cabinets for a trendy makeover?
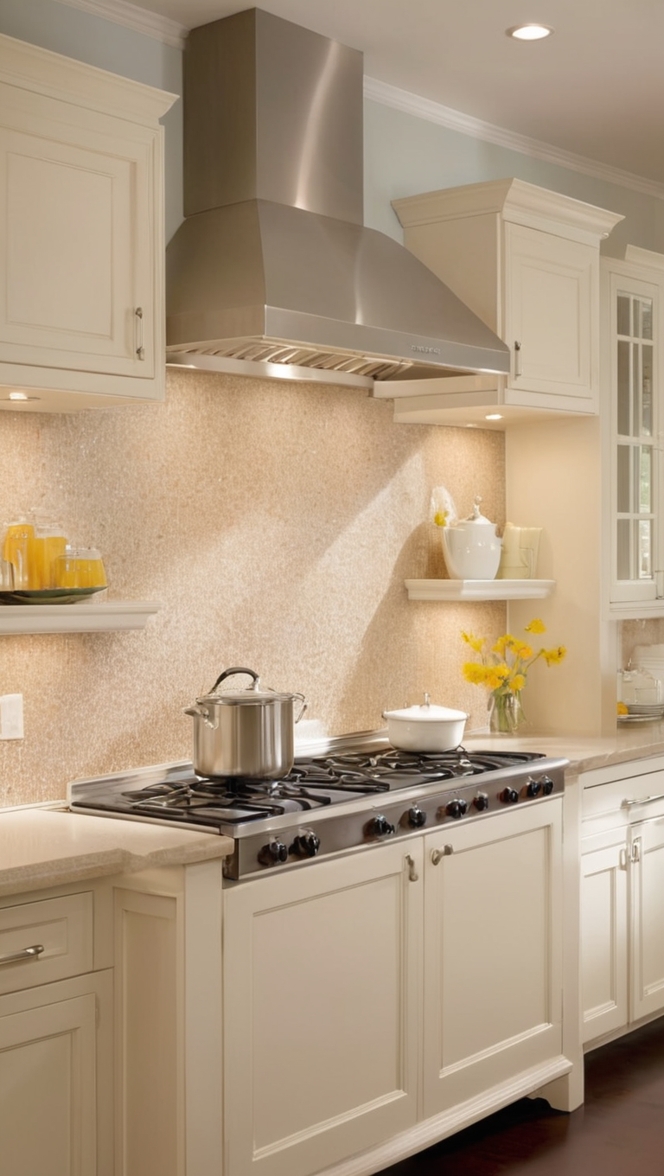
Choosing sage green cabinets, such as the edamame enchantment sage green color, for a trendy makeover offers a range of benefits. Here are some key advantages of opting for sage green cabinets:
1. Timeless appeal: Sage green is a versatile color that has a timeless appeal. It exudes a sense of calmness and tranquility, making it a popular choice for creating a soothing and relaxing environment. The color’s versatility allows it to effortlessly blend with various design styles and color palettes.
2. Elegance and sophistication: Sage green cabinets add a touch of elegance and sophistication to any space. The color is soft and subtle, yet it still makes a statement. It can instantly elevate the overall aesthetic of a room and create a luxurious ambiance.
3. Enhanced visual interest: Sage green cabinets can create visual interest in a space. The color adds depth and dimension to the overall design, especially when paired with contrasting elements. It can serve as a focal point or be combined with other colors and materials to create a harmonious and visually appealing look.
4. Versatility with other colors and materials: Sage green cabinets can be easily paired with a wide range of colors and materials to create a cohesive and well-balanced look. It complements both warm and cool tones, making it suitable for various color palettes. Blending sage green cabinets with natural materials like wood or stone can create a harmonious and organic feel, while pairing it with bold accent colors can add a pop of excitement and modernity.
5. Increased resale value: Opting for sage green cabinets can potentially increase the resale value of your home. This color choice is often associated with high-end and stylish design, which can be appealing to potential buyers. Additionally, sage green is a neutral color that has a broad appeal, making it easier to sell your home in the future.
6. Easy to maintain: Sage green cabinets are relatively easy to maintain, especially if you choose high-quality paint and finishes. Regular cleaning with a mild detergent and soft cloth is usually sufficient to keep the cabinets looking their best. Additionally, the sage green color is less prone to showing dirt and fingerprints compared to lighter colors, making it a practical choice for busy households.
7. Personalization and uniqueness: With sage green cabinets, you have the opportunity to personalize your space and create a unique look. By incorporating your preferred design elements and accessories, you can make the cabinets reflect your personal style and taste.
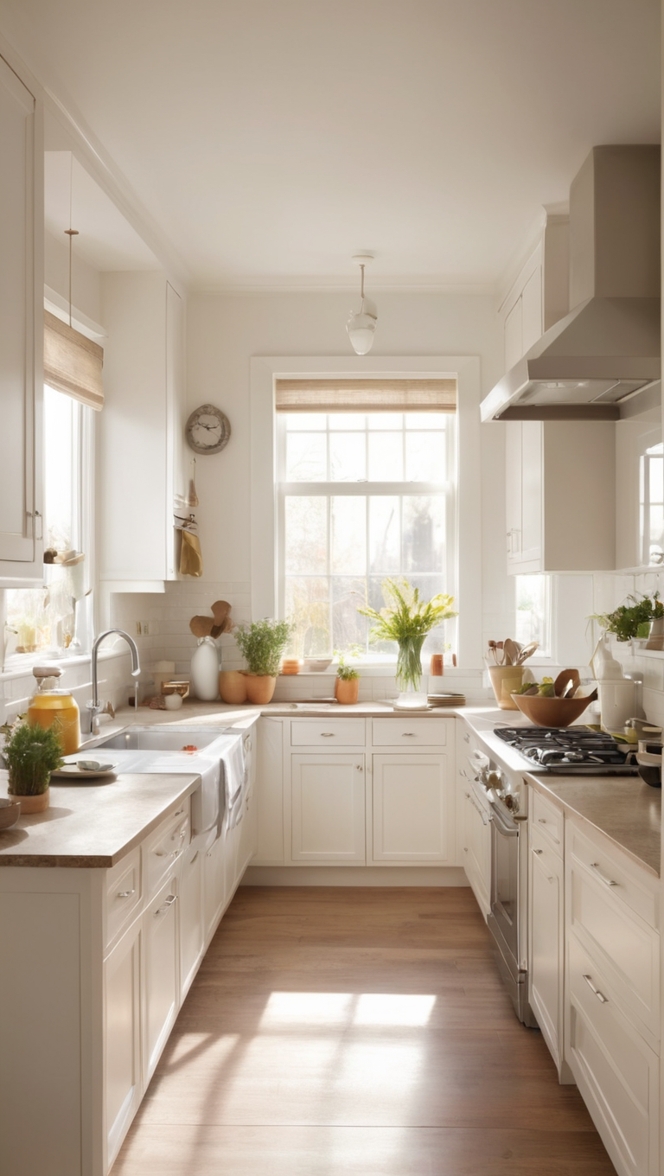
Overall, choosing sage green cabinets for a trendy makeover offers a range of benefits, including timeless appeal, elegance, versatility, and increased resale value. It’s a color choice that can transform any space into a stylish and sophisticated environment.
5. How to ensure proper organization when undertaking a cabinet makeover?
Proper organization is essential when undertaking a cabinet makeover to ensure functionality and efficiency in your space. Here are some tips to help you maintain proper organization during a cabinet makeover:
1. Assess your storage needs: Before starting the cabinet makeover process, assess your storage needs. Consider the items you need to store, their sizes, and the frequency of use. This will help you determine the best organization solutions for your cabinets.
2. Declutter and purge: Before organizing your cabinets, take the opportunity to declutter and purge unnecessary items. Remove expired or unused items and donate or discard them. This will create more space and make it easier to organize the remaining items.
3. Categorize items: Categorize your items based on their function or usage. For example, group plates together, separate glasses from cups, and create designated areas for different types of cookware. This will make it easier to find and access items when needed.
4. Utilize organizers and dividers: Use cabinet organizers and dividers to maximize storage space and maintain proper organization. There are various options available, such as drawer dividers, shelf risers, and pull-out organizers. These tools help separate items and create designated spaces for each category.
5. Use clear containers: Clear containers can be a game-changer when organizing cabinets. They allow you to see the contents of the containers without having to open them, making it easier to locate and access items. Use clear bins or containers for spices, snacks, or small kitchen gadgets.
6. Label everything: Labeling is an effective way to maintain proper organization. Use adhesive labels or a label maker to label shelves, containers, or drawers. This will create a visual guide and ensure everything is returned to its designated place.
7. Keep frequently used items within reach: Organize your cabinets in a way that keeps frequently used items within easy reach. Place them at eye level or in the most accessible areas to avoid constantly rummaging through the cabinets. Less frequently used items can be stored in higher or lower cabinets.
8. Maintain a system: Once you have organized your cabinets, it’s important to maintain the system. Encourage all household members to put items back in their designated places after use. Regularly reassess the organization system to make sure it still meets your storage needs.
Proper organization during a cabinet makeover is crucial for creating an efficient and functional space. By assessing your storage needs, decluttering, utilizing organizers, and maintaining a system, you can ensure that your cabinets stay organized and help simplify your daily routines.
6. What steps should I take to prepare my cabinets for painting in the sage green color?
Preparing your cabinets properly before painting them in the sage green color is crucial for achieving a professional-looking finish. Here are the steps to take to prepare your cabinets for painting:
1. Remove cabinet doors and hardware: Start by removing all cabinet doors, drawers, and hardware, such as handles and hinges. Place them in a well-ventilated area or on a drop cloth to protect surrounding surfaces.
2. Clean the surfaces: Properly cleaning the cabinets is essential to remove grease, dirt, or grime that may affect the adhesion of the new paint. Use a mild detergent and warm water to clean all surfaces thoroughly. Pay special attention to areas around handles and knobs where dirt tends to accumulate. Rinse well and allow the cabinets to dry completely.
3. Sand the surfaces: Lightly sand the cabinet surfaces to create a rough texture for the new paint to adhere to. Use a medium-grit sandpaper and sand in the direction of the wood grain. This will help remove any glossy finish, smooth out imperfections, and promote better paint adhesion. Wipe away the sanding dust with a tack cloth or a damp cloth.
4. Fill in imperfections: If there are any visible dents, scratches, or holes in the cabinets, fill them in with wood filler. Use a putty knife to apply the filler and smooth it out. Allow the filler to dry completely and then sand it lightly to create a flush surface.
5. Repair loose or damaged hinges: Check the hinges to ensure they are in good condition. If any hinges are loose, tighten them using a screwdriver. If any hinges are damaged, replace them with new ones.
6. Mask off surrounding areas: To protect surrounding walls or floors from paint splatter, use painter’s tape and plastic sheeting to mask off areas that should not be painted. Cover any countertops or appliances that you don’t want to come into contact with paint.
7. Apply a primer: Applying a primer is crucial for achieving a long-lasting and professional-looking finish. Choose a high-quality primer specifically designed for use on cabinets. Apply the primer in even strokes using a brush or a foam roller. Follow the manufacturer’s instructions for drying time.
8. Sand the primed surfaces: Once the primer has dried, lightly sand the primed surfaces with a fine-grit sandpaper. This helps create a smooth surface for the paint and removes any brush strokes or imperfections. Wipe away the sanding dust with a tack cloth or a damp cloth.
Once you have completed these preparation steps, you are ready to paint your cabinets in the sage green color. Follow the manufacturer’s instructions for application and drying time, and apply multiple thin coats of paint for a professional-looking finish.
7. Are there any risks involved in repainting cabinets for a trendy makeover?
Repainting cabinets for a trendy makeover can be a cost-effective way to transform your space, but it does come with some risks. It’s important to understand these risks and take necessary precautions to achieve the desired results. Here are some potential risks involved in repainting cabinets:
1. Poor adhesion: If the cabinets are not properly prepared before painting, the new paint may not adhere properly to the surface. This can result in peeling, flaking, or chipping paint. To prevent poor adhesion, it’s crucial to clean the cabinets thoroughly, sand the surfaces, and apply a high-quality primer suitable for cabinets.
2. Uneven finish: Applying paint unevenly can result in an unsightly finish. This can happen if the paint is not applied in thin and even coats or if the surface is not properly prepped. To achieve a smooth and even finish, follow the manufacturer’s instructions for application, use high-quality tools, and sand between coats if necessary.
3. Paint drips or brush strokes: Improper painting techniques can lead to visible paint drips or brush strokes on the cabinets. This can detract from the overall aesthetic and create an unprofessional look. To avoid drips, apply thin coats of paint and use a brush or roller specifically designed for cabinets to ensure smooth application.
4. Color dissatisfaction: Choosing the wrong shade of sage green or not properly testing the color before painting can lead to color dissatisfaction. It’s important to gather paint samples, test them on a small area, and evaluate how the color looks in different lighting conditions. This will help ensure you choose the right shade of sage green for your cabinets.
5. Paint odor and fumes: Repainting cabinets involves the use of paint and primers, which can emit strong odors and fumes. Proper ventilation is essential to prevent the buildup of fumes and ensure a safe environment. Open windows, use fans, or work in well-ventilated areas to minimize the impact of odors and fumes.
6. Time and effort: Repainting cabinets can be a time-consuming and labor-intensive process, especially if you have a large number of cabinets or intricate details. It requires careful preparation, multiple coats of paint, and attention to detail. Make sure you have enough time and patience to complete the project properly.
7. Potential
Read More